The Weekend Workbench: Build Your First Real Workspace
Stop working on the floor. Build this sturdy, heavy-duty workbench using common 2x4s and plywood for under $100.
The Foundation of All Projects
You can't build good furniture on a wobbly card table. And your back can't take another day of cutting wood on the garage floor.
You need a workbench.
It doesn't need to be a fancy European joiner's bench made of imported beech. It just needs to be:
- Heavy (so it doesn't move when you plane/sand).
- Flat (so your assembly is square).
- Cheap (so you don't feel bad drilling holes into it).
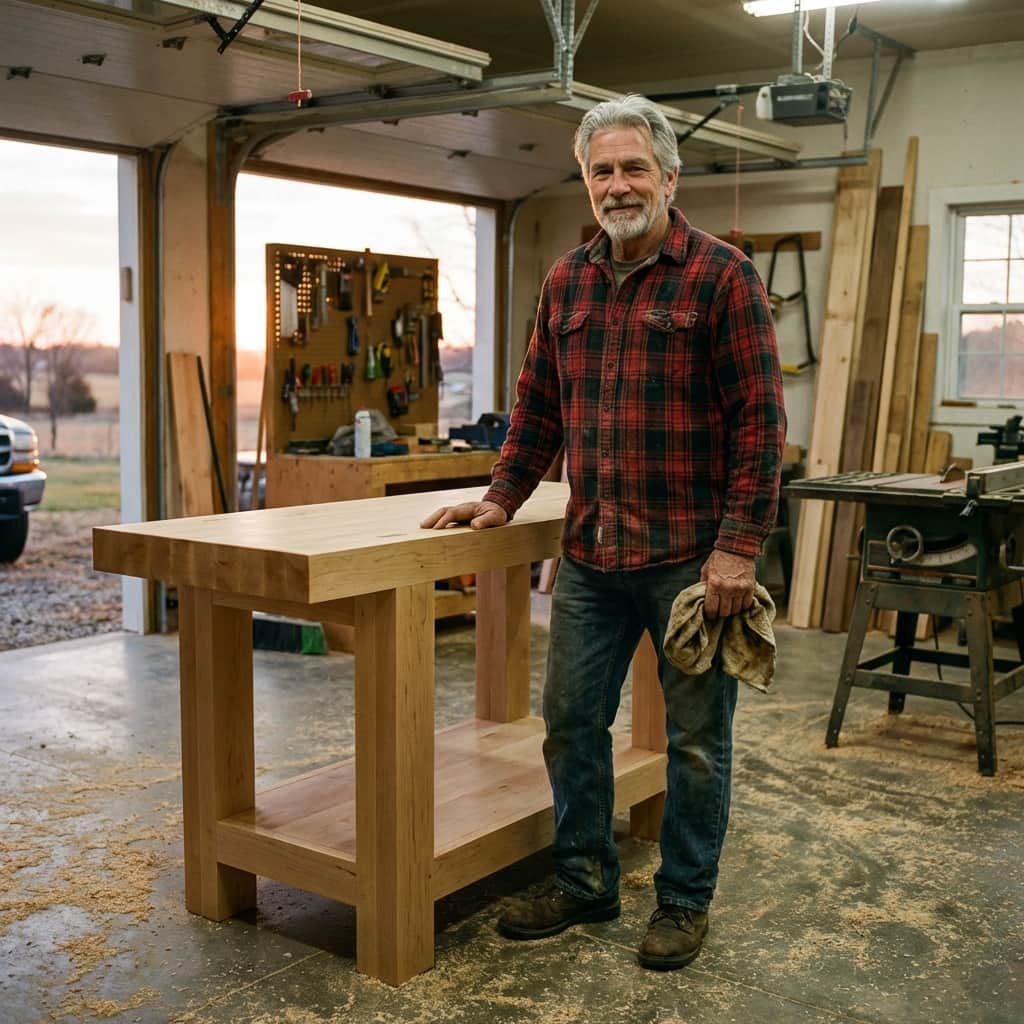
This design is the "Tank." It uses 15 framing studs and a sheet of plywood. It weighs 200 lbs and will outlast your house.
Materials List
- 15x 2x4x8 Studs: (Get the straightest ones you can find).
- 1x sheet of ¾" Plywood (or MDF): For the top and bottom shelf.
- 1 lb of 2 ½" Deck Screws.
- 1 lb of 3" Deck Screws.
Total Cost: ~$100 depending on lumber prices.
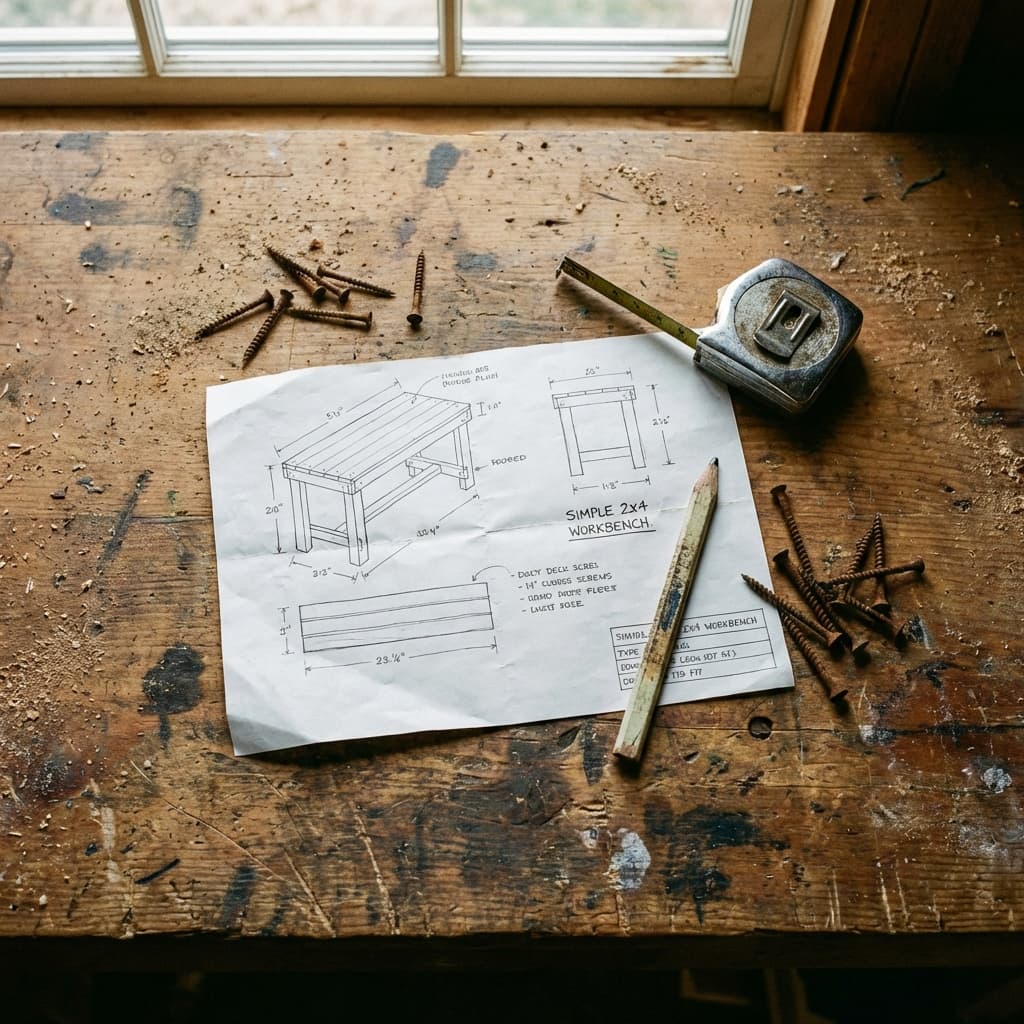
Anatomy of the Bench
We are building this in three parts:
- The Top Frame: A ladder-style frame.
- The Legs: L-shaped legs for massive strength.
- The Shelf: A lower frame that adds storage and locks the legs together.
Dimensions: 2ft deep x 6ft wide x 34" tall. (Modify height to match your comfort—usually wrist height when standing).
Step 1: Build the Top Frame
We want a robust surface. Cut two 2x4s to 6 feet (front/back). Cut five 2x4s to 21 inches (cross supports).
Assemble them into a "ladder". Screw through the long boards into the short ones. Space the cross supports every 16 inches. This supports the plywood so it never sags, even if you put a transmission on it.
Square it up: crucial step. Before you drive all the screws, measure the diagonals of your frame. Adjust until they match perfectly. A crooked frame means a wobbly bench.
Step 2: The Legs
We aren't using single 2x4s for legs—they wobble. We are lamination two 2x4s together into an "L" shape.
Screw a 2x4 face-to-edge with another 2x4. Make 4 of these. They are incredibly resistant to twisting and can support thousands of pounds.
Attach the legs to the INSIDE corners of your Top Frame. Use 4 screws per leg.
Step 3: The Bottom Shelf (The Stiffener)
A workbench without a bottom shelf will rack (sway side to side). Build another "ladder frame" just like the top one, but simpler.
Mount this frame inside the legs, about 6 inches off the floor. Screw the legs tightly into this frame.
The Physics: By connecting the legs at the top and bottom, you create a rigid box structure. Sway is eliminated.
Step 4: The Top
Rip your ¾" plywood to 24 inches wide (Get the hardware store to do this if you don't have a truck).
Screw it down to the top frame. Countersink your screws. You don't want metal screw heads scratching your future projects. Drive them slightly below the surface.
Make the top replaceable. Don't use glue on the plywood top. In 5 years, when it's covered in paint, oil, and drill holes, just unscrew it and slap on a fresh sheet. Good as new.
Step 5: Add a Vise (Optional but Recommended)
A bench holds the wood so you can work on it. Buy a cheap $30 "Face Vise" from Amazon. Bolt it to the front left corner (if you are right-handed). Add wooden "jaws" to the metal face to protect your workpieces.
The First Cut
The first time you toss a heavy board onto this bench and it makes a solid THUD instead of a rattle, you'll get it.
It changes how you work. You can plane aggressively. You can hammer without tools bouncing off the table. It becomes the anchor of your shop.
Building this bench takes one Saturday morning. Using it will make every Saturday after that better.
Build strong.
– Mark