Stop Using Just Wood Glue: A Beginner's Guide to Joinery
Screws are visible. Glue is messy. Learn the three joinery methods that will take your woodworking from 'backyard diy' to fine furniture.

The "Screw It" Phase (And Why You Must Leave It)
When we start woodworking, we all do the same thing: cuts two pieces of wood, put them together, and drive a drywall screw through them.
It works. It holds. But it's ugly.
And over time, screws loosen. Wood expands and contracts with the seasons, but screws don't. This mismatch eventually cracks the wood or strips the hole.
If you want to build furniture that lasts for generations (and looks professional), you need to learn joinery. Joinery is the art of connecting wood so that the wood itself does the holding.
1. The Pocket Hole (The Gateway Drug)
If you own a power drill, your first step into joinery should be a Pocket Hole Jig (like a Kreg Jig).
How it works: You drill a steep angled hole into one board, then drive a special screw through it into the adjoining board.
Pros:
- Incredibly fast. No clamp time. You screw it, and it's done.
- Strong. Much stronger than end-grain screwing.
- Hidden (mostly). The screw is on the back or inside of the project.
Cons:
- It still uses screws (not "purist").
- You have huge oval holes to hide if you aren't careful with placement.
Don't over-torque. When driving pocket screws, set your drill clutch to medium. If you drive them too hard, you'll strip the threads in the soft wood, and the joint will fail immediately.
2. Dowels (The Hidden Strength)
Dowels are ancient, cheap, and immensely strong.
How it works: You drill matching holes in both boards, squirt in some glue, insert a round wooden peg (dowel), and clamp them together. The dowel swells with the glue/moisture, locking the joint tight.
Pros:
- Invisible. The joint looks seamless from the outside.
- Stronger than screws. The wood fibers lock together.
- Cheap. A bag of 100 dowels costs $5.
Cons:
- Alignment is hard. If your holes are off by even 1mm, the boards won't line up. You need a Dowel Jig.
- Clamp time. You have to wait for the glue to dry (at least 30 mins) before moving.
Wood glue (PVA) is actually stronger than the wood fibers itself—but only on "long grain" to "long grain" connections. End-grain gluing (like the cut end of a 2x4) is incredibly weak. Dowels solve this by providing long-grain surface area inside the hole.
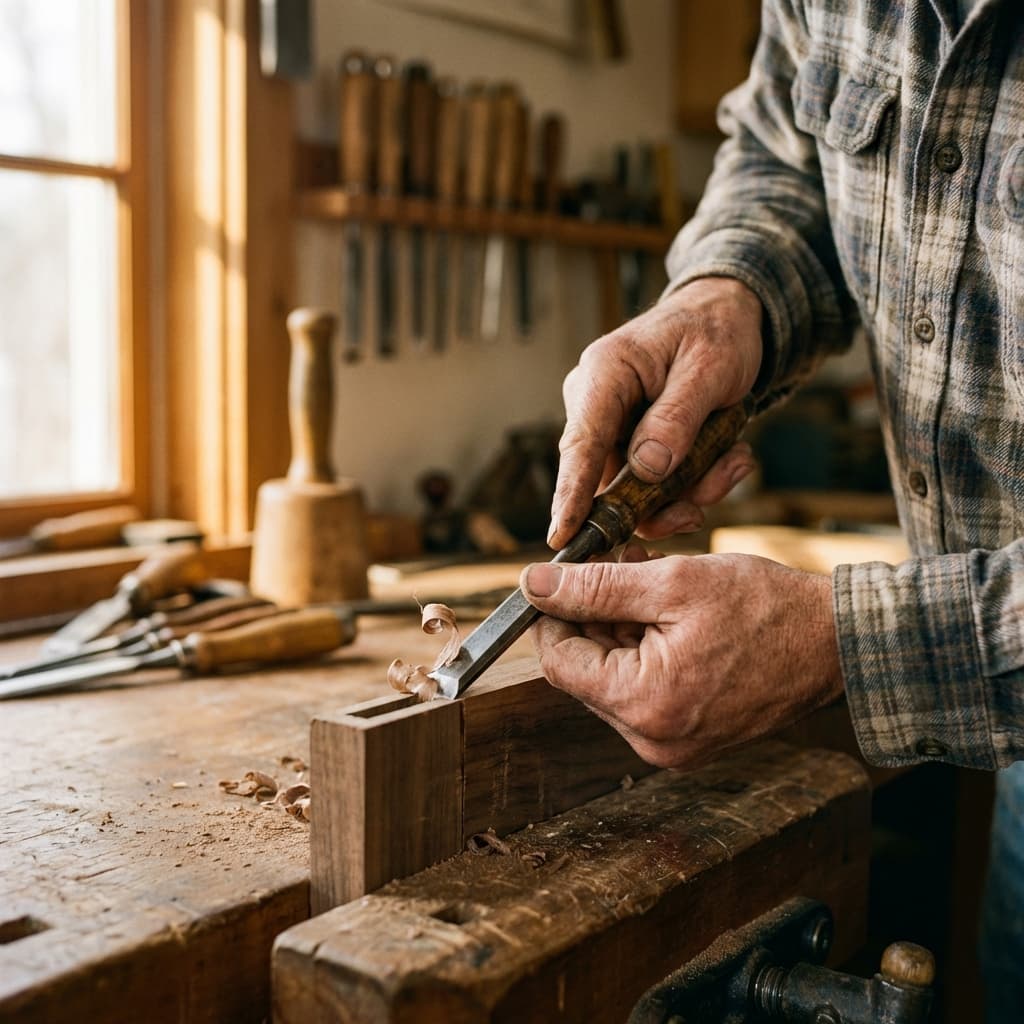
3. The Mortise and Tenon (The King)
This is the joint that built cathedrals and antique tables that are still standing 300 years later.
How it works:
- The Mortise: A square hole chiseled into one piece.
- The Tenon: A square tongue cut on the end of the other piece.
- They slide together like a puzzle piece.
Pros:
- Maximum strength. Massive surface area for glue.
- Mechanical lock. Even without glue, it can't twist.
- Beautiful. It signals "I know what I'm doing."
Cons:
- Skill curve. You need sharp chisels and patience, or expensive machinery.
- Time. One joint can take 20 minutes to fit perfectly.
When to Use Which?
- Building a Shop Cart / Jig: Use Pocket Holes. It's fast, dirty, and works.
- Building a Table Top: Use Dowels (or Biscuits) to align the planks.
- Building a Bed Frame or Chair: Use Mortise and Tenon. These joint bear heavy dynamic loads. Pocket screws will eventually fail here.
- Kitchen Cabinets: Pocket Holes for the face frames (hidden in back), Dowels for the boxes.
The Glue Factor
Regardless of the joint, you are likely using glue.
Titebond II (Yellow glue) is the industry standard. It's water-resistant and sets in 30 minutes.
Titebond III (Green bottle) is waterproof and gives you more "open time" (time to wiggle parts together) before it tacks up. Better for complex glue-ups.
CA Glue (Super Glue): Great for "tacking" parts in place while the real glue dries, or fixing small chips.
Glue Squeeze-Out: When you clamp a joint, glue will ooze out. Do not wipe it with a wet rag immediately. This pushes glue deep into the pores, causing spots that won't take stain later. Wait 20 minutes until the glue is "rubbery," then peel it off with a sharp chisel. clean and easy.
Start with a Box
The best way to learn joinery is to build a simple keepsake box.
Try to build it without a single nail or screw. Use miter joints with splines, or simple butt joints with dowels. It teaches you alignment, clamping pressure, and patience—skills that scale up to dining tables.
Woodworking is a journey of hiding how you connected things. The better you get, the more "impossible" your furniture looks.
Go easy on the glue.
– Mark