How to Build a Garden Shed: The Ultimate Pre-Build Checklist
Don't buy a single piece of wood until you read this. 5 critical mistakes that ruin DIY sheds and how to avoid them.

You're About to Spend $1,200 on Lumber. Read This First.
I know you want to build that shed.
You've got the vision. Maybe it's for storage, maybe it's a workshop, or maybe you just need somewhere to escape when the house gets loud.
But here's the problem: Most first-time shed builders waste 30% of their budget on mistakes that could've been avoided with 15 minutes of planning.
I've been there. My first shed looked like it survived a tornado—and that was before the first storm hit.
Let me save you the headache (and the money).
What You Actually Need (Tools & Materials)
Let's start with the essentials. Don't buy anything fancy until you've built your first one.
Tools You Can't Skip:
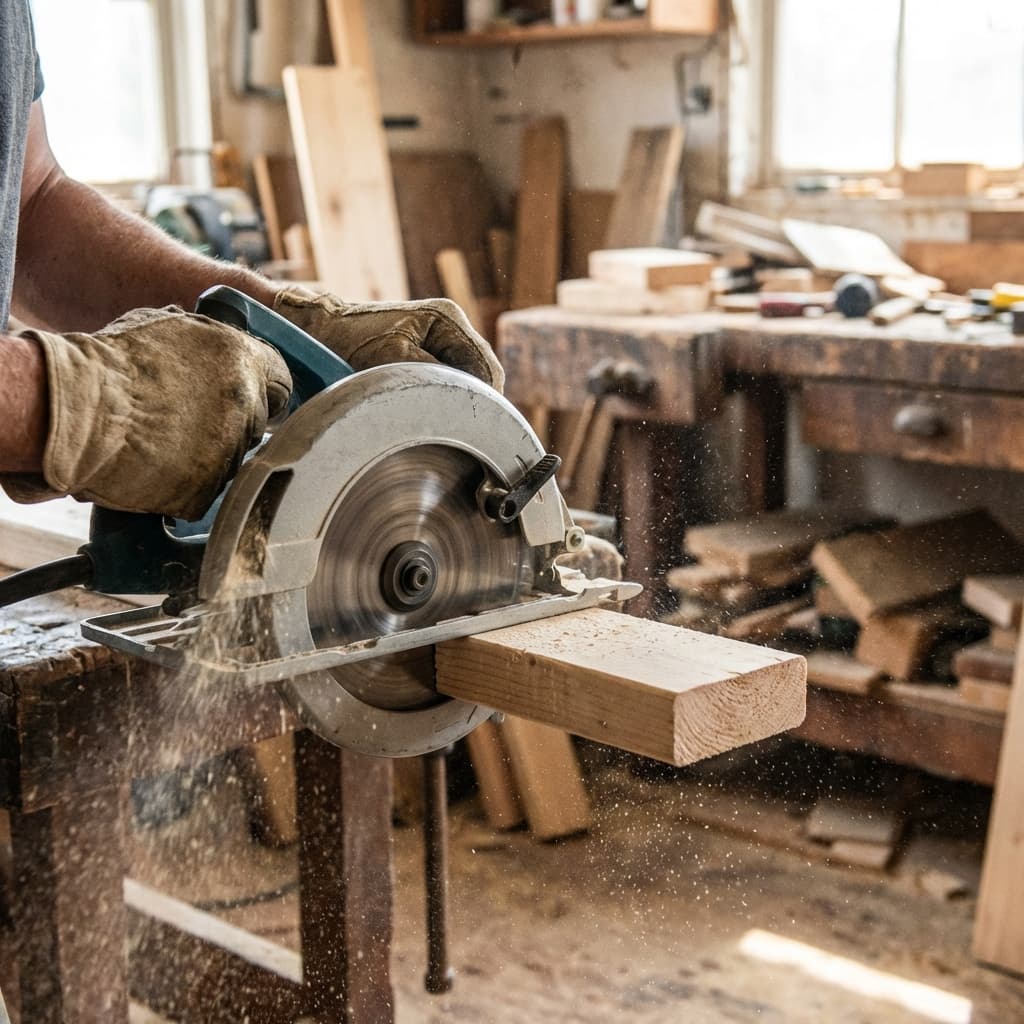
- Circular saw or miter saw – Your workhorse. No shed gets built without clean cuts.
- Cordless drill & impact driver – Battery-powered is non-negotiable. You'll be working outside.
- 4-foot level – Crooked walls = doors that won't close. Trust me.
- Tape measure (25ft minimum) – You'll use it 500 times. Get a good one.
- Speed square – For marking angles. $8 investment that saves hours.
- Chalk line – Straight lines = professional look.
- Safety glasses & work gloves – Not optional. Wood splinters hurt.
Safety first. Never bypass guards on your circular saw and always wear eye protection. A split-second mistake can lead to life-altering injuries.
Materials (8x10 Shed Example):
- 20x pressure-treated 2x4x8 studs (for framing)
- 10x 4x8 sheets of ¾" plywood (floor and walls)
- 3 bundles of asphalt shingles
- 50 lbs of 3" deck screws
- Concrete pavers or blocks (foundation)
- House wrap (moisture barrier)
- Paint or stain (exterior-grade)
Buy 10% more lumber than your plan says. Wood gets damaged, measurements get re-cut, and mistakes happen. The extra $60 is cheaper than a second trip to the store.
The $400 Mistake Nobody Warns You About
Here's where most DIYers lose money.
You find a "free shed plan" on some forum. It looks legit. You print it out, head to the lumberyard, and spend $1,200 on materials.
Day 2 of the build, you realize the roof angles don't match the wall height.
Now you've got three choices:
- Buy MORE wood to fix it ($200+)
- Force it to work (and live with a leaky roof)
- Tear it down and start over
I chose option 2 on my first build. Bad idea.
The rain found every gap. Within 6 months, the plywood floor was rotting. I had to rebuild the whole thing.
Why This Happens:
Free plans are often:
- Copied from other sites (errors get duplicated)
- Never actually field-tested
- Missing critical measurements
- Drawn by someone who's never framed a wall
The "free" plan cost me double what a verified plan would've cost.
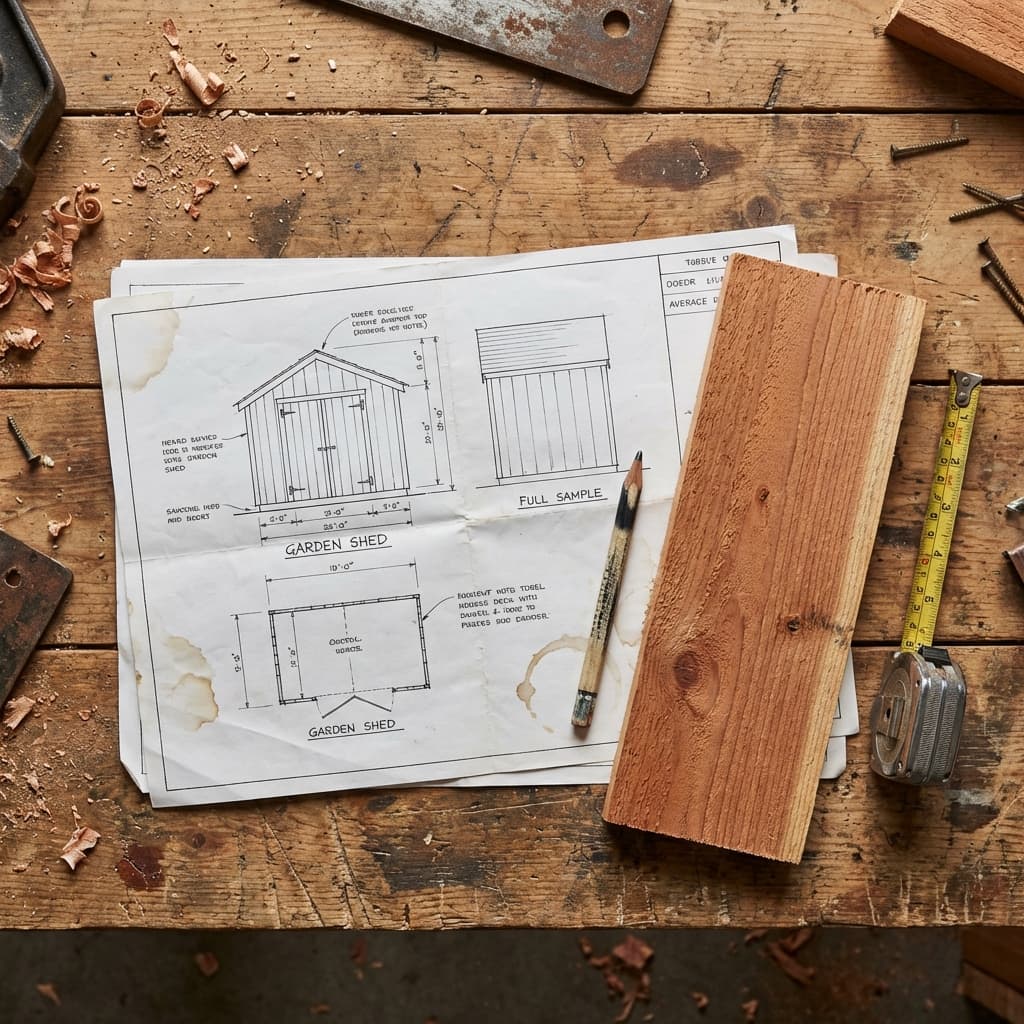
The Smart Way: Start With a Verified Blueprint
Look, I'm not here to sell you something you don't need.
But if you're spending $1,000+ on materials and a full weekend of your time, doesn't it make sense to invest $37 in a plan that's been tested by actual builders?
Think of it this way: you're about to spend $15/hour on your own labor (if you value your Saturday). A professional plan saves you 5-10 hours of troubleshooting. That's $75-150 in time saved, right there.
Here's what separates a good plan from a bad one:
A Professional Plan Includes:
- Exact cut list – No math required. Just cut and assemble.
- 3D diagrams – See how pieces connect before you screw them together.
- Material shopping list – Copy-paste it into your phone and hand it to the lumberyard.
- Foundation specs – The most overlooked part. A level foundation = a square shed.
- Roof angle math done for you – This is where amateurs mess up.
What You Save:
- Time: 3-5 hours of measuring, re-measuring, and Googling "how to calculate roof pitch"
- Money: No wasted lumber from wrong cuts
- Sanity: You'll actually enjoy the build instead of stressing over every step
Step-by-Step: Your First 3 Hours
Alright, you've got your plan. You've got your materials. Here's how to start strong.
Hour 1: Prep the Foundation
- Clear and level the ground (use a rake and tamper)
- Lay concrete pavers in a grid pattern
- Double-check level in all directions – This is your last chance to fix it
Hour 2: Frame the Floor
- Cut your floor joists to length (per the plan)
- Assemble the frame on the pavers
- Measure diagonals – they should be equal (this squares the frame)
- Screw down the plywood flooring
Hour 3: Wall Frames
- Build wall frames flat on the ground
- Crown your studs – look for the natural curve, install with curve facing out
- Raise walls one at a time, brace them temporarily
Critical: Don't skip the bracing. A gust of wind can topple an un-braced wall. I've seen it happen.
By the end of Day 1, you should have a level floor and walls standing. That's 60% of the hard work done.
The Finish Line (And What Comes After)
Once your walls are up, the rest flows pretty naturally:
- Install roof trusses or rafters
- Lay sheathing and felt paper
- Shingle the roof
- Add siding
- Hang the door
It's satisfying work. There's something primal about building a structure with your own hands.
But here's the truth: the quality of your final shed is decided in the planning phase, not the building phase.
If you start with a solid, verified plan, the build is almost therapeutic. You're just following steps.
If you start with a sketchy free plan, every step is stressful. You're constantly problem-solving and second-guessing.
Your Next Step
You don't need to be a master carpenter to build a great shed.
You just need:
- The right tools (list above)
- A verified plan (not a free one)
- One weekend of focused work
I built my current shed in two Saturdays. It cost $1,100 in materials, and it's still standing strong after 4 years. No leaks, no rot, no regrets.
The difference? I paid for a professional plan the second time around.
If you're serious about this project, don't gamble with free plans. Invest in something tested. Your future self will thank you when you're storing tools in a dry, square shed instead of a crooked money pit.
Ready to start? Grab a verified plan, a cold drink, and let's build something that lasts.
FAQ: Quick Answers
Q: Can I build a shed in one day?
A: Possible, but not recommended. Rushing leads to mistakes. Plan for 2-3 days.
Q: Do I need a building permit?
A: Depends on your location and shed size. Most cities require permits for structures over 120 sq ft. Call your local building department.
Q: What's the best foundation for a shed?
A: Concrete pavers on level ground work for most small sheds (under 10x12). Larger sheds need a more robust foundation.
Q: How long does a DIY shed last?
A: 15-20+ years if built correctly with pressure-treated lumber and proper ventilation.
Check your local building codes BEFORE you start digging. Some municipalities have strict rules on shed height and distance from property lines.
Good luck out there. You've got this.
– Mark