
How to Build a Shed Door: Z-Brace Construction That Won't Sag or Warp
A poorly built shed door will sag, bind, and rot within two seasons. Learn how to build a shed door with a proper Z-brace frame that stays square, opens smoothly, and lasts for decades.
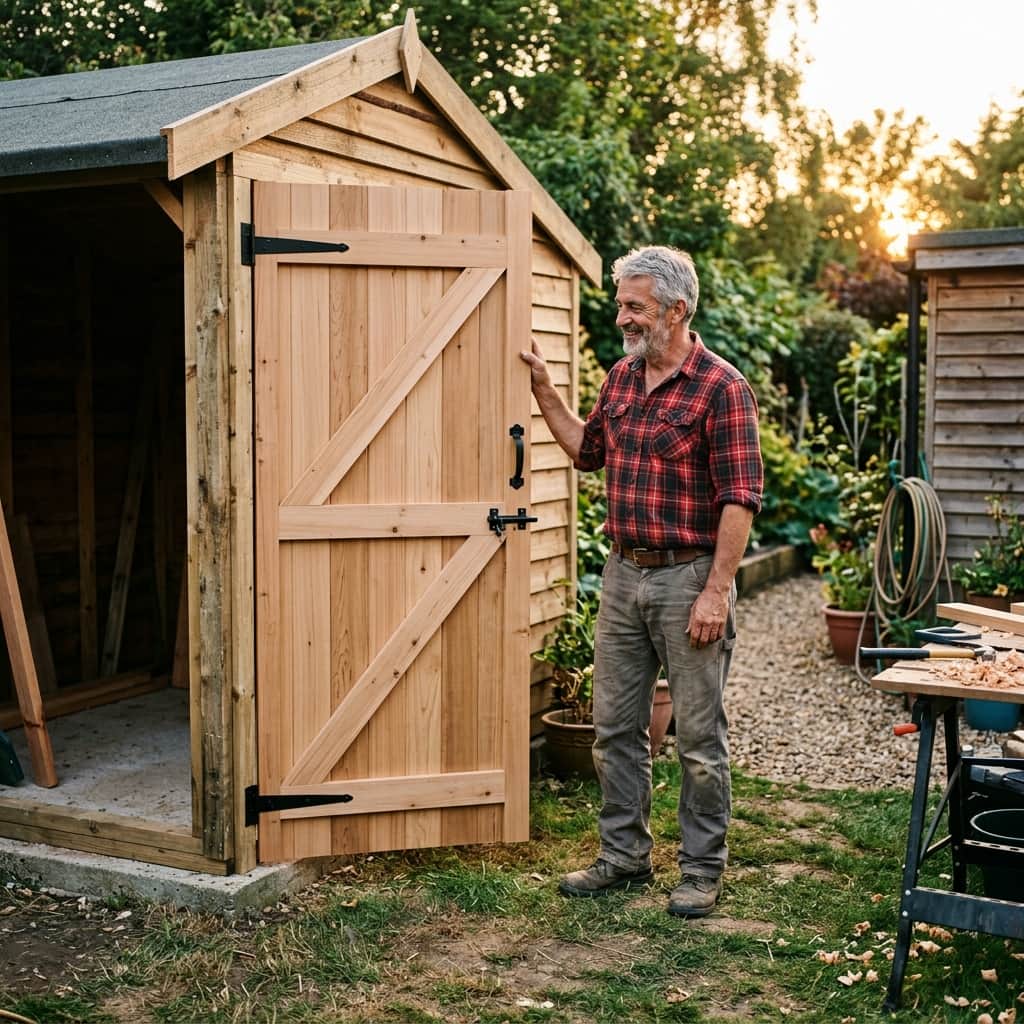
A shed door is one of the most abused components of any backyard structure. It swings open and shut hundreds of times a year, it's exposed to rain and sun from both sides, and it's usually the first thing that starts to fail.
Most shed doors fail for one reason: they're built without a proper Z-brace. The diagonal board in a Z-brace carries tension that prevents the door from racking and dropping over time. Without it, a flat panel door will sag out of square within a single season, binding against the frame until you can barely open it.
This guide walks you through how to build a shed door that stays square for years — using lumber and hardware you can source at any home center for under $80.
Why the Z-Brace Works (And Why Flat Panels Don't)
A solid-panel shed door made of T1-11 or plywood alone has no resistance against racking — the tendency of a rectangle to lean into a parallelogram under its own weight when the hinge side pulls down.
The Z-brace (sometimes called a ledger-and-brace door) adds three horizontal boards and one critical diagonal:
- Two horizontal ledgers — top and bottom rails that give the door structural width.
- One diagonal brace — running from the bottom hinge corner to the top latch corner. This is the key. The tension in this board counteracts gravity pulling the door down at the latch side.
- A center ledger (optional but recommended) — adds rigidity for taller doors over 60 inches.
The diagonal brace must run from the bottom hinge corner to the top latch corner. If you install it the other way, it will be in compression — not tension — and will do nothing to prevent sag. This is the single most common mistake when building a Z-brace door.
Materials List for a Standard 36" × 72" Shed Door
This material list covers a single Z-brace door sized for a 36-inch rough opening, which is the most common size for a walk-through shed door.
| Material | Size / Spec | Qty |
|---|---|---|
T1-11 Siding Panel | 4×8, 5/8" thick | 1 |
Ledger Boards (horizontal) | 1×6×36" cedar | 3 |
Diagonal Brace | 1×6 cedar, cut to length at angle | 1 |
| Strap Hinges | Heavy-duty, 10" – 12" | 3 |
T-Strap or Hasp Latch | Exterior grade | 1 |
Exterior Screws | 1-5/8" and 2-1/2", stainless or coated | 1 box each |
Exterior Primer + Paint | To match shed siding | As needed |
Use cedar or redwood for your ledger boards and brace, not standard SPF framing lumber. Cedar is naturally rot-resistant and dimensionally stable in wet conditions. SPF will absorb moisture, swell, and press against the panel until the screws pop. The cost difference is minimal — about $15 total — for a door that will last 15+ years instead of 3.
Step-by-Step: How to Build a Shed Door
Step 1: Cut the Panel to Rough Size
Cut your T1-11 panel to 35-3/4" wide × 71-3/4" tall. This leaves a 1/8" gap on each side within the rough opening for clearance and seasonal wood movement.
Always cut T1-11 with the face side down using a circular saw. This prevents the saw blade from splintering the groove pattern on the exterior face.
Step 2: Cut and Attach the Top and Bottom Ledgers
Cut two 1×6 cedar boards to 35-3/4" (matching the panel width).
Lay the panel flat on sawhorses — exterior face down. Position the top ledger flush with the top edge of the panel and the bottom ledger flush with the bottom edge. Predrill every hole to prevent splitting.
Fasten each ledger with 1-5/8" exterior screws driven every 8 inches along the length of the board.
Step 3: Cut and Attach the Center Ledger
Cut a third 1×6 cedar board to the same 35-3/4" length and attach it at the exact center of the door height. This center rail is where your latch hardware will mount, so position it at a comfortable height — typically 36–42 inches from the bottom.
Step 4: Mark and Cut the Diagonal Brace
This is the critical step. Measure the diagonal distance from the bottom hinge corner (where the bottom ledger meets the hinge side) to the top latch corner (where the top ledger meets the latch side).
Use a speed square to mark the compound angle cut at each end of the brace board so it sits tight against both ledger boards with no gaps.
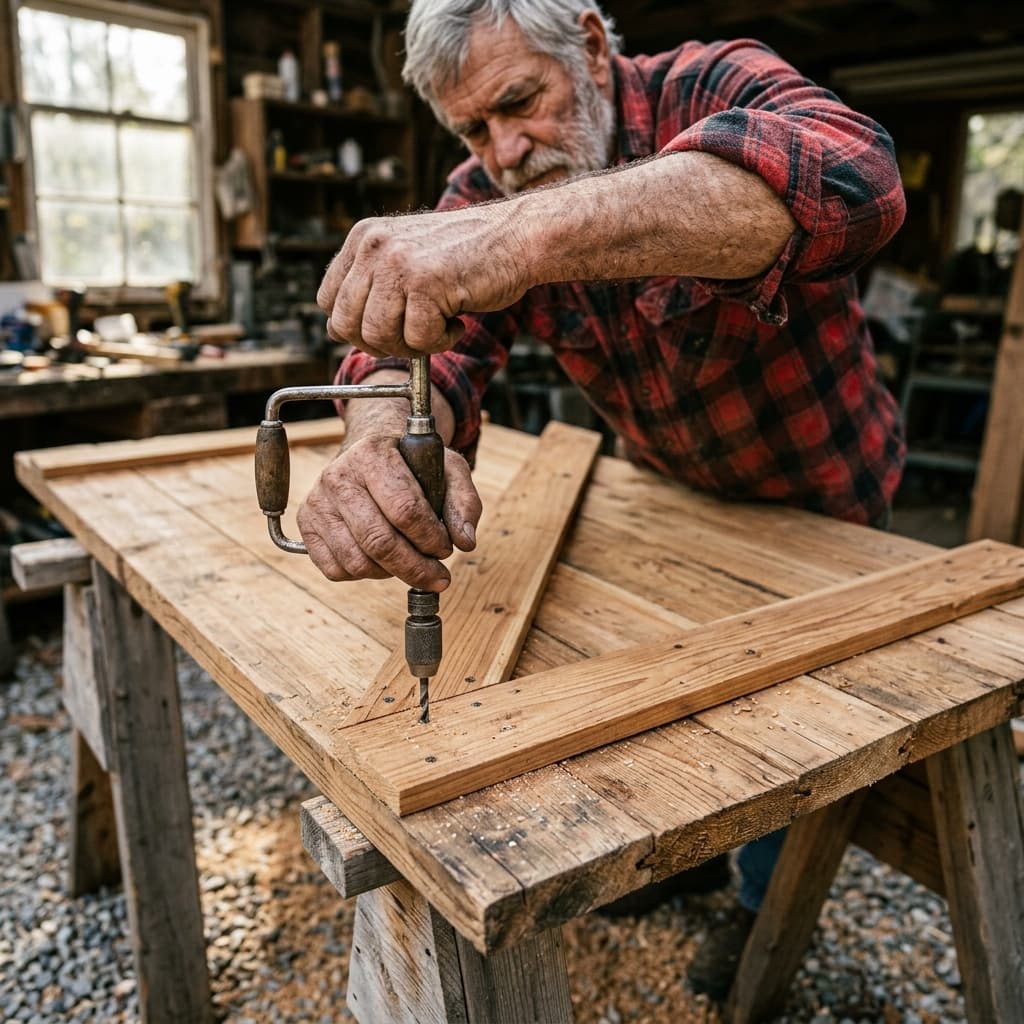
Step 5: Attach the Diagonal Brace
Position the brace running from the bottom hinge corner to the top latch corner. Predrill all holes. Use 2-1/2" exterior screws to fasten the brace: two screws into each ledger where they intersect, plus screws through the panel at 12" intervals along the brace length.
If you're building a double door, make two individual Z-brace panels. Each door should be independently braced. Do not rely on a shared center post to prevent sag — each panel carries its own weight on its own hinges.
Step 6: Install Hinges
Use three heavy-duty 10" strap hinges for a 72-inch door — one at the top, one at the bottom, and one in the middle. Three hinges distribute the load and dramatically reduce the stress on any single mounting point.
Mount the hinges on the ledger boards, not just the panel skin. The ledger gives the screws solid wood to bite into.
Step 7: Hang the Door
Prop the door in the opening with a 1/8" gap at the bottom using shims. Have a helper hold the door plumb while you drive the first hinge screws into the door frame. Check that the door swings freely and closes flush before driving all remaining screws.
Step 8: Prime and Paint
Apply one coat of exterior primer to all exposed wood surfaces, including the panel edges. Follow with two coats of exterior latex paint matched to your shed siding. Pay particular attention to the top edge and bottom edge of the door — unsealed end grain is where rot always starts.
Rough Opening Sizing: Getting the Gap Right
The shed door rough opening should be 2 inches wider and 2 inches taller than your finished door.
For a 36"×72" door: rough opening = 38"×74".
This gives you 1 inch of clearance on each side and 2 inches at the top for shimming the header level and plumbing the jack studs. Never cut a rough opening to the exact door size — you'll never get the door to hang plumb.
If you're in the planning phase of a full shed build and need a complete framing plan with exact rough opening specs already laid out, our best shed plans for DIY post covers what to look for in a professional blueprint that includes door and window details.
Frequently Asked Questions
What size lumber should I use for a shed door frame?
For the Z-brace ledger boards, use 1×6 cedar — it's wide enough to give you solid screw purchase across the full panel thickness, and cedar's natural oils resist the moisture that causes ledger boards to cup and pull away from the panel over time.
How many hinges does a shed door need?
A standard 36"×72" single shed door needs three strap hinges. Two hinges are technically sufficient for lighter hollow-core doors, but for a solid T1-11 panel door — which can weigh 40–60 lbs — a third hinge in the middle prevents the door from twisting and bowing the frame over time.
Should I use plywood or T1-11 for a shed door?
Both work, but T1-11 is the better choice for exterior shed doors. It's designed for outdoor exposure, comes pre-primed in most variants, and the groove pattern adds rigidity across the face of the panel. Plain plywood requires more careful sealing at the edges and face to prevent delamination.
How do I keep my shed door from swelling shut in humid weather?
Leave a 1/8" gap on all sides during installation. Do not paint the door when temperatures are below 50°F — paint won't bond properly and will peel within a season. Also, seal the top and bottom panel edges with a waterproof exterior primer before hanging the door. Unsealed end grain absorbs moisture rapidly and is the primary cause of door swelling and binding.
Keep your edges sharp,
– Mark