5 Common Mistakes When Building Foundations for DIY Sheds
A crooked shed starts with a bad base. Avoid these 5 expensive foundation mistakes to ensure your DIY backyard shed remains level and rot-free for life.
You can buy the most expensive, beautiful cedar siding in the world. You can frame your walls to absolute perfection.
But if you build your shed on a crooked, sinking, or poorly designed foundation, your doors will eventually stick, your roof will crack under snow load, and your floor joists will rot out within a few wet seasons.
The foundation is the single most important part of any DIY project. Yet, it is where beginners make the most expensive errors.
Here are the 5 most common shed foundation mistakes to avoid at all costs.
1. Placing Concrete Blocks Directly on Grass
This is the ultimate rookie mistake. It's Saturday morning, you're excited, and you want to raise walls by nightfall. So you lay down concrete deck blocks directly on top of your lawn, level them, and start framing.
Here is why this fails: Lawn soil is soft, organic, and highly unstable.
As rain falls, the ground shifts. When winter freezes and thaws the dirt, the blocks will sink unevenly. Within a year, your 10x12 shed will be completely out of level, placing massive diagonal stress on your wall frame.
- The Fix: Always dig out the grass and topsoil first. Excavate 4 to 6 inches, lay down a weed barrier, and fill the area with compacted crushed gravel (like 3/4-inch clean stone). Set your foundation blocks on top of this compacted, draining gravel bed.
2. Using Regular Wood for Ground Contact
I've seen beginners use standard, untreated SPF 2x6s or untreated 4x4 posts as the ground skids simply because they were cheaper or already in their garage.
Untreated pine absorbs water like a sponge. Ground-dwelling fungi and termites will quickly feed on the wet wood fibers. Within 24-36 months, the skids will completely rot, causing the floor deck to collapse into the dirt.
- The Fix: Use only heavy-duty pressure-treated lumber rated explicitly for "Ground Contact" (UC4A rating) for your skids, joists, and rim boards.
3. Forgetting About Airflow and Drainage
If you build your shed directly on the dirt without a raised base, water will pool underneath the framing. Without airflow, the humidity stays at 100%, causing dry rot and mildew.
A long-lasting shed needs skid ventilation.
- The Fix: Elevate your shed floor joists at least 4 to 6 inches off the ground using pressure-treated 4x4 skids sitting on a leveled gravel pad. This air gap allows wind to circulate underneath, keeping the floor framing dry and clean.
4. Trusting Your Eyes Instead of a Water Level
"It looks level to me" are famous last words in DIY woodworking.
Backyard lawns slope naturally, even when they look perfectly flat. A minor 2-inch slope over a 12-foot span is difficult to see with the naked eye, but it is catastrophic when you try to hang doors and install roof rafters.
If your foundation is slightly out of square or level, your roof shingles won't line up and your doors will refuse to clear the frame.
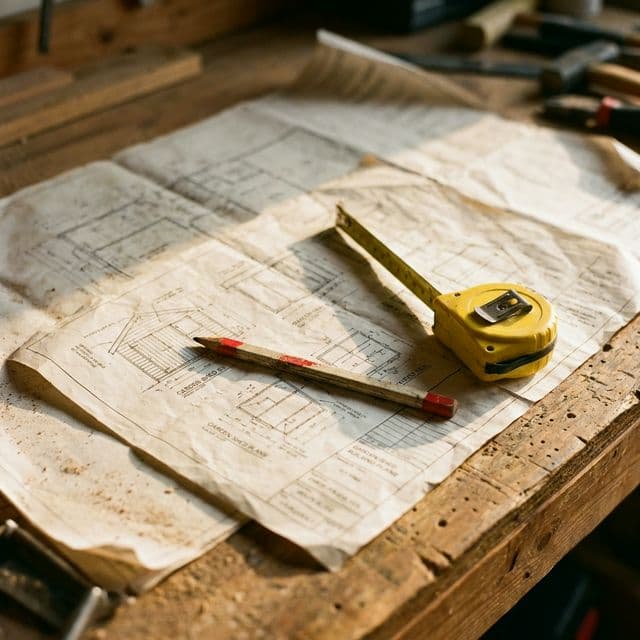
- The Fix: Invest in a high-quality laser level or build a simple, 100% accurate water level using a clear vinyl hose. Double-check your diagonal measurements (from corner to corner) to ensure the base is a perfect rectangle before laying down your flooring panels.
The easiest way to ensure your foundation is 100% square and level is to follow a proven blueprint. Our collection of the best shed plans for DIY includes exact foundation framing diagrams and skid layout dimensions to guarantee a stress-free start.
5. Building Over Utilities and Property Lines
Before digging or pouring a foundation, you must know where your property ends and where your utility lines lie.
Building a permanent shed over a buried electric cable, gas line, or water pipe can result in massive fines. Even worse, if you build too close to your neighbor's fence, your Local Homeowners Association (HOA) or municipal zoning board could legally force you to dismantle the entire structure.
- The Fix: Always call your local utility hotline (such as "Call 811" in the US) to map out buried lines for free. Verify your local zoning setback rules—many counties require sheds to sit at least 3 to 5 feet away from property boundaries.
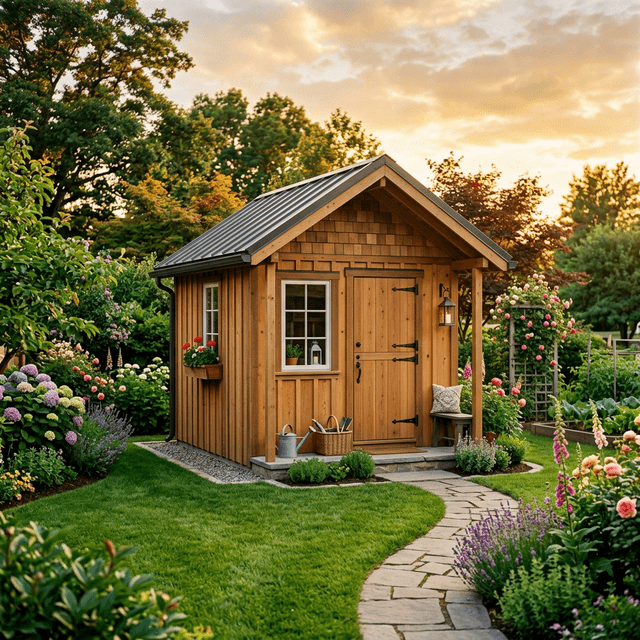
By taking the extra time to prep a level, draining, and legal gravel pad foundation, you ensure that your backyard storage shed remains perfectly square, dry, and standing proud for decades.
Build once, enjoy for life,
– Mark