
How to Build a Ramp for a Shed: PT Lumber Frame with Cleat Traction System
Getting a riding mower or heavy wheelbarrow through a shed door without a ramp is a shoulder injury waiting to happen. Here's how to build a shed ramp that handles the load, drains water, and stays rot-free.

If you've ever tried to push a 500-pound riding mower through a 4-inch door threshold, you know the problem.
That step at the base of a shed door — small as it looks — is a real obstacle for anything with wheels. Wheelbarrows tip. Hand trucks catch. Mower decks scrape. And if you try to force it, you either damage the equipment or hurt your back.
A shed ramp solves this cleanly. Built right, it takes about half a day and around $60 in materials. Built wrong, it becomes a rotting liability that shifts and sinks into the ground within two seasons.
The difference is almost entirely in the material selection and slope calculation. Let's get both right.
Slope: The Most Important Number You'll Calculate
The ramp slope determines how easy it is to push or pull heavy equipment up the incline. Too steep and it's dangerous. Too shallow and the ramp gets so long it interferes with the yard.
The industry standard for equipment ramps is a maximum slope of 1:12 — that means 1 inch of rise for every 12 inches of horizontal run.
For a typical shed with a 4-inch floor height above grade (a skid-mounted shed on a 4" gravel pad):
- Rise = 4"
- Run at 1:12 = 4 × 12 = 48 inches (4 feet)
For a 6-inch floor height (common with a concrete block foundation):
- Run at 1:12 = 6 × 12 = 72 inches (6 feet)
Measure your actual threshold height before cutting anything. Don't assume — stick a tape measure on the ground outside the door and measure up to the top of the floor deck. If you're building a new shed and haven't poured the foundation yet, you can use our free Shed Material Calculator to plan the floor frame height at the outset.
Materials List: Standard 36" Wide × 48" Long Shed Ramp
This list covers the most common ramp configuration for a shed with a 4-inch floor height and a 36-inch door opening.
| Material | Size | Qty | Notes |
|---|---|---|---|
PT Stringers (side frames) | 2×8×8 PT | 2 | Ripped to correct length and angle |
PT Decking Boards | 2×6×36" PT | 8 | Full-width surface boards |
Traction Cleats | 2×2×36" PT | 5 | Spaced every 8–10" on center |
Threshold Ledger | 2×6×36" PT | 1 | Fastened to shed floor frame |
Exterior Screws | 3" structural, coated | 1 lb box | Structural connections |
| Gravel | 3/4" crushed, 2–3" deep | ~1 cu ft | Under ramp base for drainage |
Use Ground Contact rated pressure-treated lumber for all ramp components — not standard Above Ground PT. The AWPA UC4A or UC4B designation means the preservative loading is appropriate for direct soil contact. Ramp stringers and decking boards will have constant moisture exposure from ground evaporation. Standard above-ground PT is not rated for this and will fail significantly faster.
Step-by-Step: How to Build a Shed Ramp
Step 1: Prepare the Ground
Excavate 2–3 inches of soil under the ramp footprint. Fill with compacted 3/4" crushed gravel to create a firm, free-draining base. This is the single step that most DIYers skip — and the primary reason ramps sink, shift, and rot within a few years. Water pooling under the ramp keeps the wood continuously saturated.
Level the gravel surface. The ramp will sit directly on this bed.
Step 2: Cut the Stringers
The stringers are the two angled side frames that carry the full load of the ramp.
From a 2×8×8 PT board, mark two cuts:
- The top cut (seat cut) — horizontal, allowing the stringer to rest flush against the shed floor frame.
- The bottom cut (foot cut) — angled to sit flat on the gravel pad.
Use a speed square set to the ramp pitch angle. For a 4" rise over 48" run, the pitch angle is approximately 4.8 degrees — use the "common" column on a standard framing square or speed square.
Cut both stringers identically. Test-fit before cutting the second one.
Step 3: Attach the Threshold Ledger
The threshold ledger is a 2×6 PT board fastened horizontally to the front of the shed floor frame, inside the door opening. The tops of the stringers will rest against and fasten to this ledger.
Fasten the threshold ledger with 3" structural screws or lag bolts into the rim joist of the shed floor frame — at least 4 fasteners across the 36-inch width.
Step 4: Install Stringers
Set the stringers against the threshold ledger at the correct width (outside of stringer to outside of stringer = 36" to match the door opening width). The stringer tops should sit flush with or just below the shed floor surface.
Toenail or use metal connector plates to fasten the stringers to the threshold ledger. Check that both stringers are parallel and at the same slope before fastening.
Step 5: Install Decking Boards
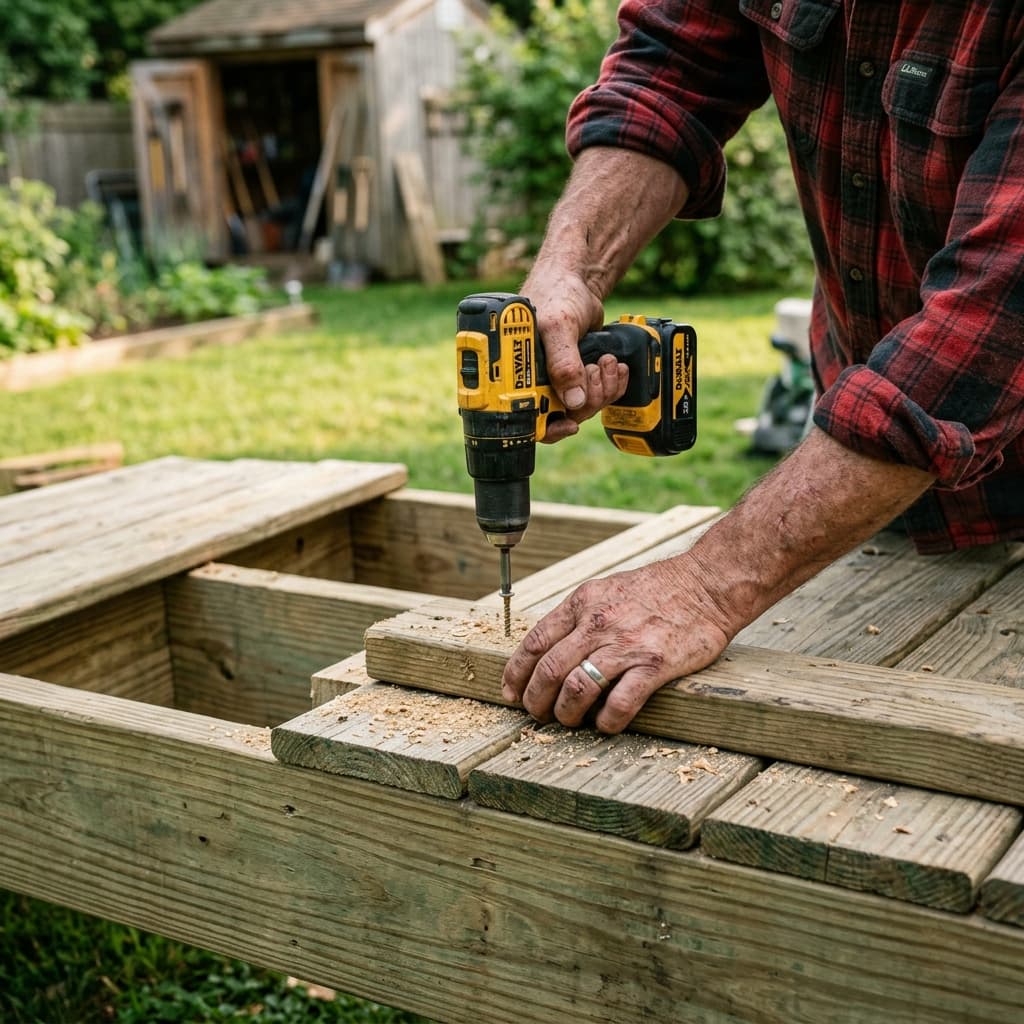
Cut 2×6 PT boards to 36" length — the full width of the ramp. Starting at the top (shed side) and working down, fasten each decking board across both stringers with 3" screws. Leave a 1/4" gap between adjacent boards for water drainage.
Do not nail. Use coated structural screws — they hold under ramp flex loads far better than nails, and they're removable if a board needs replacing later.
Step 6: Install Traction Cleats
Traction cleats are the feature that separates a serviceable ramp from a dangerous one. Without them, wet pressure-treated lumber is surprisingly slippery, especially at shallow angles.
Cut 2×2 PT strips to 36" length. Space them every 8–10 inches across the ramp surface. Fasten each cleat with two 3" screws into the decking surface — but make sure at least two screws from each cleat reach down through the decking and into a stringer. This anchors the cleat structurally, not just to the surface boards.
For riding mowers and heavy equipment, consider attaching a strip of rubber stair nosing to each 2×2 cleat instead of relying on bare wood. The rubber surface dramatically improves traction for rubber tires in wet conditions and is available at any hardware store for under $3 per linear foot.
Step 7: Check Alignment and Secure
With the ramp fully assembled, place it in position. The top should rest solidly against the threshold ledger with no rocking. The bottom should sit flat on the gravel pad.
Optionally, fasten the ramp to the threshold ledger with two L-brackets — one on each stringer. This prevents the ramp from shifting forward when you push equipment up it.
Ramp Width: What's Right for Your Equipment?
The 36-inch width in this guide matches a standard single-door opening and handles wheelbarrows and hand trucks easily.
If you're loading a riding mower, measure the deck width at the widest point (usually the outer tire-to-tire measurement). Most residential riding mowers are 36–54 inches wide. Match your ramp width to the mower width plus 4–6 inches of clearance on each side.
For a wider ramp (48"–54"), simply use longer decking boards and position the stringers at the appropriate spacing. You may want to add a center stringer for spans over 48 inches to prevent decking flex under heavy loads.
Common Mistakes When Building a Shed Ramp
- No gravel base: The ramp will sink and shift within one season. Prep the ground first.
- Above Ground PT lumber instead of Ground Contact: The preservative loading is insufficient for ground contact. Always check the stamp on the board.
- No gap between decking boards: Water has nowhere to drain. The decking stays wet and rots from the underside.
- Slope too steep: A slope steeper than 1:8 is dangerous with wheeled equipment and very difficult to push a loaded wheelbarrow up. Calculate your run before cutting anything.
- Fastening cleats only to the decking surface: Cleats must reach through the decking into the stringers. Surface-only fastening will rip out under the lateral force of a wheel climbing the cleat.
Frequently Asked Questions
What angle should a shed ramp be?
Use a maximum slope of 1:12 — 1 inch of rise for every 12 inches of horizontal run. This is the standard for equipment ramps and ADA-compliant accessibility ramps. For a typical shed with a 4–6 inch floor height, this results in a ramp length of 48–72 inches.
What lumber is best for a shed ramp?
Use Ground Contact rated pressure-treated lumber (AWPA UC4A or UC4B) for all components. For the decking surface, 2×6 boards at 1/4" spacing provide excellent load distribution and drainage. Cedar is an alternative for the decking surface if you want a more attractive appearance — it's naturally rot-resistant without chemical treatment.
How do I keep a shed ramp from sliding?
Fasten a threshold ledger to the shed floor frame at the top of the ramp and connect the stringers to it with structural screws or L-brackets. This prevents the ramp from kicking forward when equipment is pushed up it. At the bottom, the gravel bed provides natural anchoring through friction.
Can I build a shed ramp without a ledger attached to the shed?
A freestanding ramp (not attached to the shed) is an option if you don't want to modify the shed frame. In this case, use a 2×6 nose board at the top of the ramp that hooks over the door threshold. The ramp leans into position and stays in place under load. This is slightly less stable than a fastened ramp but works well for sheds where permanent attachment isn't practical.
Keep your edges sharp,
– Mark