
How to Build an Overhang for a Shed: Rafter Tails, Fascia, and Waterproofing
A shed without an overhang sends water directly down the wall and into the foundation. Learn how to build an overhang for a shed with proper rafter tail extensions, fascia, and drip edge installation.
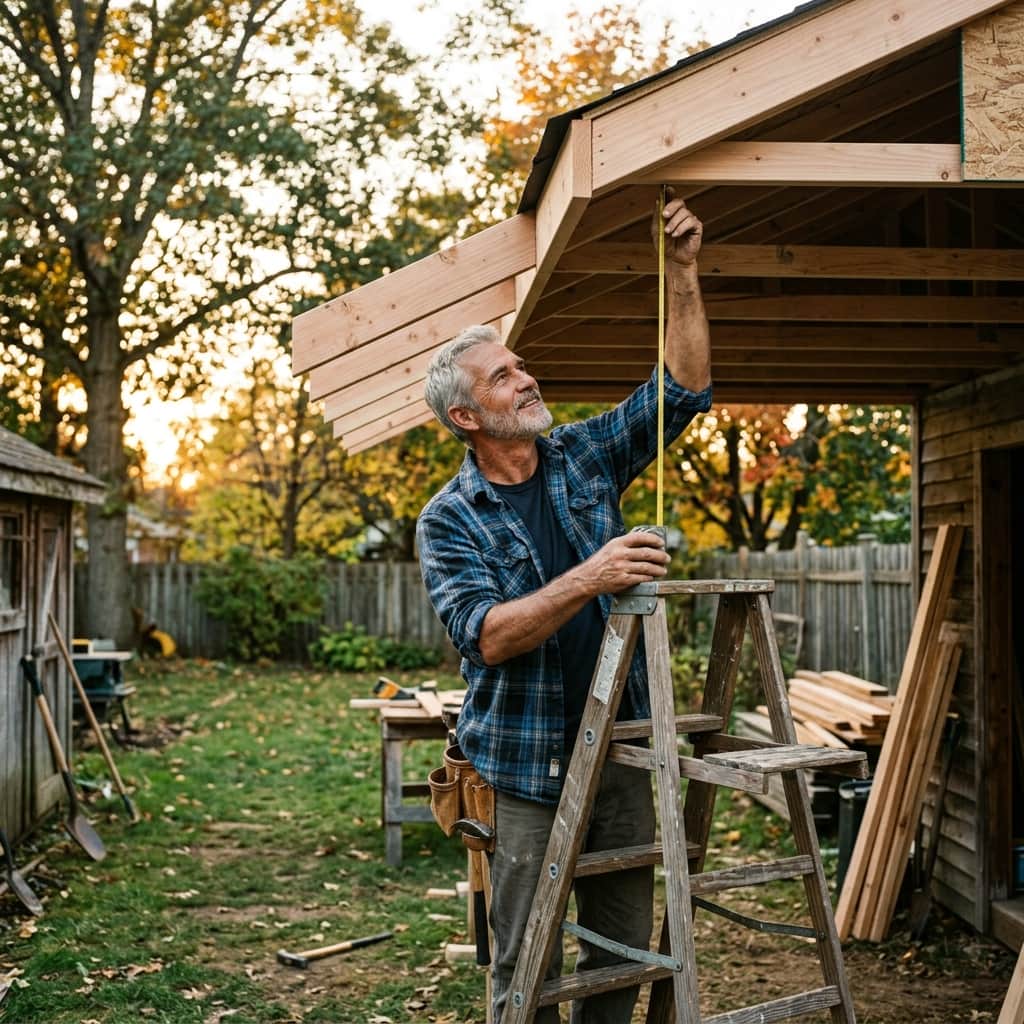
The easiest way to destroy a shed wall is to build a roof with no overhang.
Rain hits the peak, runs down the slope, and falls straight onto the siding at the base of the wall. Season after season, that constant moisture wicks into the T1-11, rots the bottom plate, and undermines the skid foundation underneath. A shed without adequate overhang will need a wall repair within five to seven years. One with a proper overhang can stand for 30.
The math here is simple: a 12-inch overhang deflects water 12 inches away from the wall. That's 12 inches of foundation, sill plate, and siding that never gets saturated.
This guide covers how to build an overhang for a shed — whether you're planning one during the initial roof frame or adding an extension to an existing structure.
Understanding Overhang Terminology
Before picking up a saw, align on the vocabulary. These terms come up constantly when working from shed blueprints.
- Rafter tail: The portion of the rafter that extends beyond the exterior wall. The rafter tail creates the eave overhang on the long sides of a gable shed.
- Rake overhang: The overhang on the gable (triangular) ends of the shed. This is framed separately with barge rafters or fly rafters.
- Eave: The lower horizontal edge of the roof, created by rafter tails. Water drips off here.
- Fascia board: A 1×6 or 1×8 board nailed to the ends of the rafter tails, forming the clean vertical face of the eave.
- Soffit: The horizontal underside of the overhang (optional on sheds — most leave this open).
- Drip edge: Metal flashing installed at the eave before shingles to direct water away from the fascia.
How Much Overhang Does a Shed Need?
The standard minimum overhang for a residential shed is 12 inches on the eave sides and 6 inches on the rake (gable) ends.
In practice, 12–18 inches on the eave sides is ideal. Here's why the range exists:
- Wider overhangs (18"+) provide more wall protection but require longer rafter spans and can catch more wind load in exposed locations.
- Narrower overhangs (6"–12") are structurally simpler but leave the lower siding and foundation area more exposed to splash-back from rain hitting the ground.
For most suburban backyard sheds, 12 inches on all four sides is the right balance of protection and simplicity.
Check your local snow load before sizing your overhang. In areas with heavy snow accumulation, wide overhangs can carry significant snow weight at the eave — which transfers as uplift load on the rafter-to-plate connection. Our free Snow Load Calculator will give you an immediate estimate for your region.
Method 1: Building the Overhang During Initial Roof Framing
If you're building a new shed, this is by far the cleanest approach. You simply extend your rafter tails beyond the wall plate during layout.
Calculating Rafter Tail Length
The rafter tail length (measured horizontally) equals your target overhang depth. But because rafters run at an angle, the actual board length of the tail is longer.
For a 12-inch horizontal overhang on a 4/12 pitch roof:
- Horizontal run of tail = 12"
- Rafter pitch multiplier for 4/12 = 1.054
- Actual tail length = 12" × 1.054 = approximately 12-5/8"
For a 6/12 pitch:
- Pitch multiplier = 1.118
- Actual tail length = 12" × 1.118 = approximately 13-7/16"
Most shed plan sets will give you the rafter tail length directly in the cut list — you don't need to calculate this manually if you're working from professional blueprints. If your plans don't specify overhang depth, that's a red flag worth addressing before you buy lumber. See what
separates professional plans from vague free ones
.
Step 1: Cut All Common Rafters With Identical Tail Length
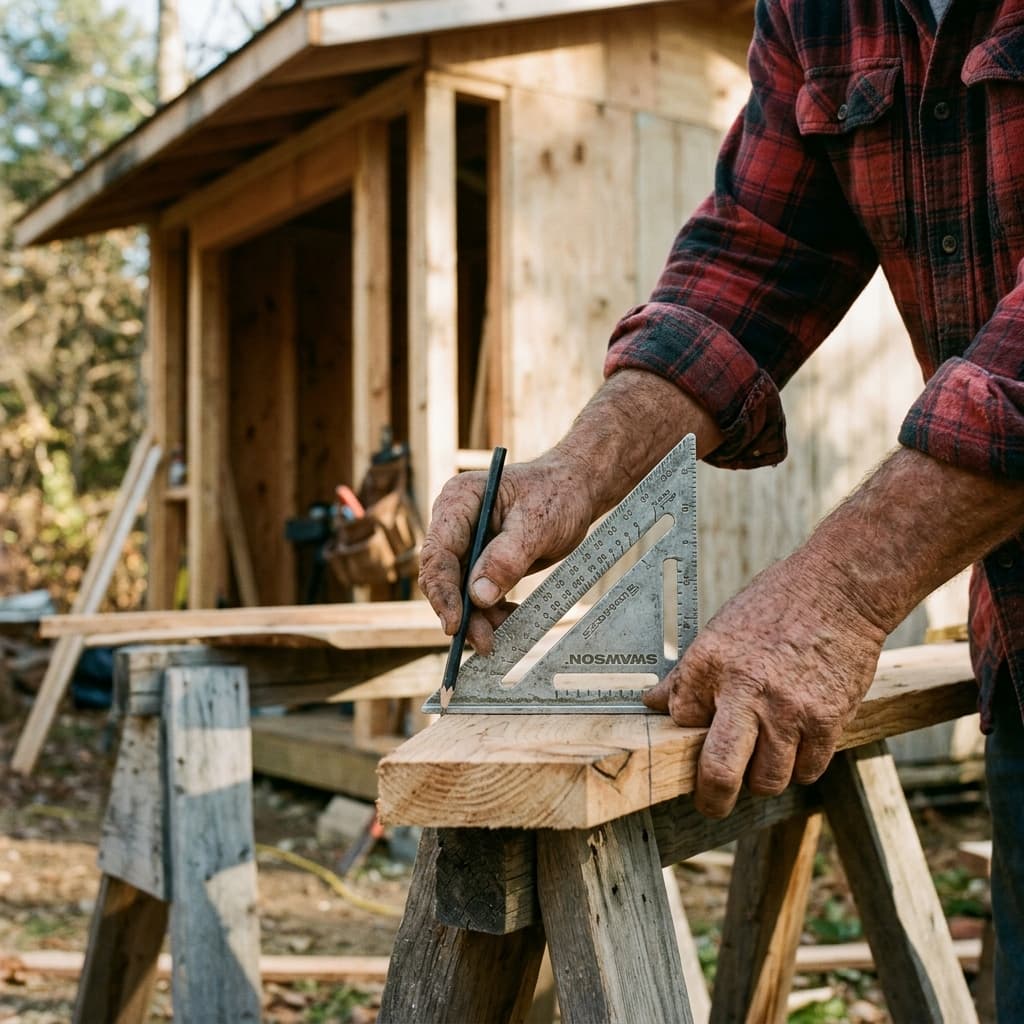
Cut all your common rafters with the plumb cut at the ridge end and the bird's mouth seat cut at the wall plate end. The rafter tail extends past the bird's mouth — do not cut it flush. The tail end typically gets a plumb cut (vertical, parallel to the wall) or a square cut (perpendicular to the rafter length). Either works; plumb cut is more traditional.
Step 2: Install Rafters at Correct Spacing
For a standard shed, space rafters at 24" on center. Make sure each rafter is plumb before nailing off. A twisted rafter at installation becomes a wavy roofline after sheathing.
Step 3: Install Fascia Board
The fascia board covers the cut ends of the rafter tails and forms the eave face. Use 1×6 cedar for the fascia.
Position the fascia so its top edge is slightly below the top of the rafter tails — about 1/2 inch. This creates a reveal that allows water to flow off the top of the fascia rather than sitting behind it.
Nail the fascia through each rafter tail with two 16d galvanized siding nails. Never use drywall screws on exterior trim — the coating fails in outdoor conditions.
Step 4: Install Drip Edge at Eave
Before shingling, install aluminum or galvanized drip edge along the entire eave. The drip edge slides under the felt underlayment and directs water off the fascia face rather than letting it wick behind it.
Secure drip edge with roofing nails every 12 inches. At corners, overlap pieces by at least 2 inches.
Method 2: Adding an Overhang to an Existing Shed
This is the more common scenario — a shed was built without adequate overhang and now the walls are showing moisture damage.
The cleanest solution is a ledger-mounted lookout overhang, where horizontal lookout boards run from the existing rafters to a barge rafter (fly rafter) located at the desired overhang distance.
Step 1: Determine Your Attachment Points
Locate the existing common rafters using a stud finder or by looking for nail patterns in the sheathing. Mark each rafter location on the wall.
Step 2: Cut Lookout Boards
Cut 2×4 lookout boards to span from the existing rafter to the new barge rafter location. These run horizontally, perpendicular to the slope. Notch them into the top of the existing rafter or fasten with hurricane ties.
Step 3: Install Barge Rafter
The barge rafter (also called a fly rafter) runs parallel to the common rafters at the eave edge. Nail it to the ends of the lookout boards. Use 2×6 material matching your existing rafters.
Step 4: Extend Sheathing and Roofing
Extend the roof sheathing (7/16" OSB or CDX plywood) over the new overhang frame. Ensure all sheathing joints are supported by a lookout or rafter below. Apply new felt underlayment and shingles over the extension, blending into the existing roofline.
Rake Overhang on Gable Ends
The rake overhang (gable end extension) is framed differently from the eave overhang.
On a new build, add a 2×4 outrigger perpendicular to the gable end rafter, running back to the second common rafter inside. These outriggers support the barge rafter at the gable end. Space outriggers every 24 inches along the rake.
For a 6-inch rake overhang, the outriggers are short enough that a single 2×4 spanning from the gable rafter to the adjacent common rafter provides adequate support without additional blocking.
Overhang Framing: Common Mistakes to Avoid
- No drip edge: Water will wick behind the fascia and rot it from the inside within three to five years. Drip edge costs $1.50/linear foot and takes 20 minutes to install. There is no good reason to skip it.
- Wrong fascia material: PT pine will warp dramatically as it dries. Use cedar or a synthetic trim board like PVC or composite.
- Skipping the bird's mouth seat cut: Some beginners try to notch a ledger to support rafters instead of cutting proper bird's mouths. The ledger approach creates a weak point at exactly the highest-stress location in the rafter.
- Inconsistent rafter tail lengths: Even a 1/4" variation in tail length across the run of rafters creates a wavy fascia line. Always use a story pole or jig to mark and cut all tails to the same length before installation.
Frequently Asked Questions
What is the standard overhang on a shed roof?
The standard overhang is 12 inches on the eave sides and 6 inches on the gable rake ends. Some builders extend eave overhangs to 18 inches for additional wall protection, particularly in regions with heavy rainfall. Check your local building code if your shed requires a permit, as some jurisdictions limit overhang depth relative to setback distance.
Can I add an overhang to an existing shed?
Yes. The most practical method is the lookout extension system — horizontal 2×4 lookout boards attach to the existing rafters and support a new barge rafter at the desired overhang distance. This approach requires extending the roof sheathing and reshingling the new section.
What wood should I use for shed fascia boards?
Cedar is the best choice for shed fascia. It's dimensionally stable, naturally rot-resistant, and holds paint well. Avoid pressure-treated lumber for fascia — it warps aggressively as it dries and the surface is difficult to paint cleanly.
Does a shed overhang require a building permit?
In most jurisdictions, a shed overhang that falls within the total footprint limits (typically 120 sq ft or less for a permit-exempt structure) does not require a separate permit. However, if your overhang extends the roof past your setback line, it may trigger a zoning review. See our full guide on shed permit requirements for state-by-state guidance.
Keep your edges sharp,
– Mark