
Best Wood Glue for DIY & Woodworking (PVA vs Polyurethane)
Looking for the best wood glue for your next DIY carpentry project? Discover the 3 essential types of wood glue every beginner needs, plus drying tips.
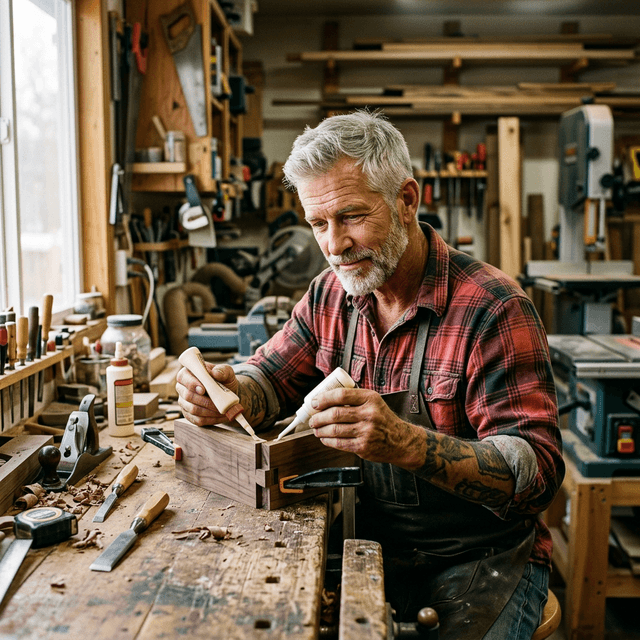
Stop Staring at the Glue Aisle
If you've ever walked into a hardware store and stared at a wall of 40 different types of wood glue, you aren't alone.
Some bottles are yellow. Some are white. Some expand into foam. Some claim to be stronger than the wood itself (spoiler alert: most of them are).
As a woodworker, your joint is only as good as your adhesive. But you don't need a chemistry degree to understand what works. After years of testing nearly every brand and formula on the market, I've reduced my daily-driver glue collection down to just three essential bottles.
Let’s break down exactly what you need, and more importantly, what you can ignore.
1. Standard Yellow PVA Glue (The Workhorse)
This is the classic yellow bottle you see in almost every woodworking shop. Polyvinyl Acetate (PVA) is the undisputed king of indoor furniture building.
Why you need it: It’s cheap, cleans up easily with water before it dries, has a decent "open time" (how long you have to position your pieces before it starts setting), and creates a bond that is literally stronger than the wood fibers surrounding it.
When to use it:
- Edge-gluing boards for tabletops
- Assembling indoor furniture (bookshelves, coffee tables)
- General shop tasks
Keep in mind that PVA's strength is entirely surface-dependent. Why end-grain gluing is weak without mechanical reinforcement explains the physics behind why a butt joint on a 2x4 end will always fail under load without a dowel or tenon.
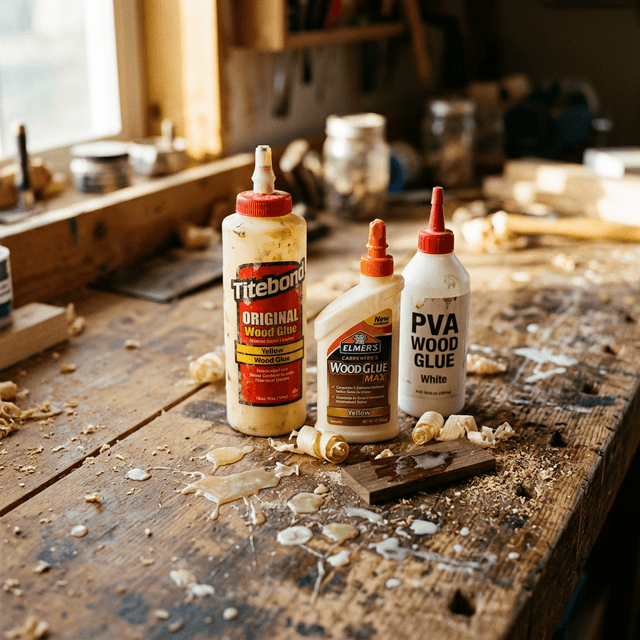
Always clean up PVA glue squeeze-out with a damp rag before it gets hard, or wait until it turns into a rubbery gel and scrape it off with a chisel. If you let it dry completely, it will ruin your finish!
2. Water-Resistant/Waterproof PVA (The Outdoor Hero)
Standard yellow glue is amazing, right up until it gets wet. If you build a patio chair with regular PVA, a single rainy season will weaken the joints until the chair collapses.
For anything exposed to the elements, you need a Type II (Water-Resistant) or Type I (Waterproof) PVA glue. These are usually branded as "Premium" or "Ultimate" and often come in darker or slightly green-tinted bottles.
When to use it:
- Adirondack chairs and outdoor benches
- Birdhouses and garden planters
- High-humidity indoor areas (like bathroom vanities)
They handle almost exactly like standard yellow glue, but provide the chemical resistance needed to survive morning dew and rainstorms.
3. Polyurethane Glue (The Gap Filler/Expanding Glue)
Polyurethane glue (often recognized by the Gorilla brand, though many companies make it) is a completely different beast.
Unlike PVA glue which dries by evaporation, polyurethane glue cures by reacting with moisture in the air and in the wood. As it cures, it actually expands into a tough foam.
Polyurethane glue expands as it cures. If you don't clamp your pieces tightly, the expanding foam will actually push your joint apart!
Why you need it: Because it expands, it is fantastic at filling small gaps if your joinery isn't perfectly tight. It is also 100% waterproof.
When to use it:
- Gluing end-grain (PVA is terrible at this)
- Gluing wood to non-porous materials (like metal or stone)
- When building projects that will live completely submerged or constantly soaked
4. Clamping & The Secret to a Perfect Glue Joint
No matter which glue you choose from the list above, there is one universal rule: Glue requires pressure.
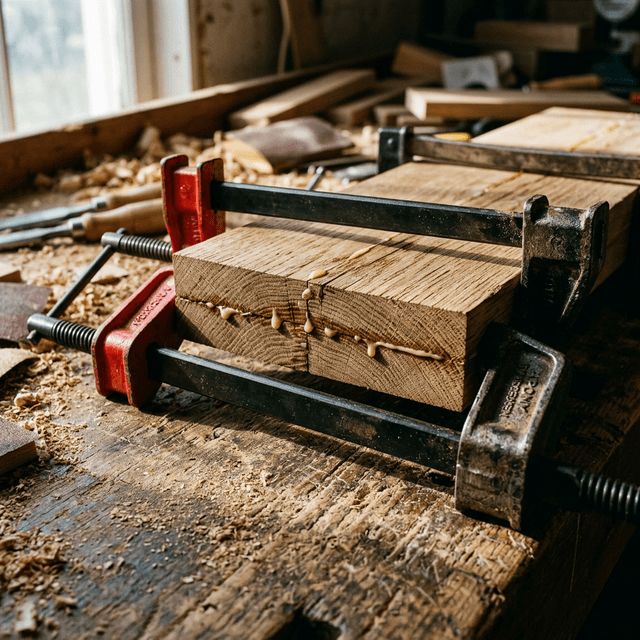
If you just spread glue on two pieces of wood and press them together with your hands, the joint will fail. You must use clamps.
When you apply pressure with a clamp, you force the glue deep into the pores of the wood. The goal is to see a tiny, consistent "bead" of glue squeeze out along the entire length of the joint. That tells you the gap is completely filled and the pressure is even.
For a deeper look at how clamping, glue choice, and joint geometry work together, see joinery methods that work with—not against—your glue — it's the most practical pairing to this guide.
5. Glue "Open Time" vs. "Cure Time" (Don't Rush!)
Beginners often confuse open time (the assembly window) with cure time (when the joint reaches full strength).
- Open Time: Typically 5 to 10 minutes. If you exceed this before clamping, the glue will skin over and won't bond.
- Clamp Time: Keep the joint clamped for at least 30 to 45 minutes for PVA, or 2 hours for polyurethane.
- Cure Time: Wait a full 24 hours before stress-testing the joint or running it through a planer.
The Sponge Test: Wiping wet glue with a dripping wet sponge spreads diluted glue into the surrounding grain, creating an invisible seal that rejects wood stains. Instead, wait 20 minutes until the squeeze-out has the consistency of gummy bears, then clean peel it away with a paint scraper.
Recommended Glue Brands to Buy
To save you another trip to the store, here are the exact brands I use daily in my own workshop:
- Best Overall PVA: Titebond II Premium (Yellow bottle, ideal for indoor woodworking).
- Best Outdoor PVA: Titebond III Ultimate (Green bottle, fully waterproof with longer open assembly time).
- Best Polyurethane: Original Gorilla Glue (Brown bottle, expands to fill minor gaps).
- Best for Fast Tacking: 2P-10 or FastCap CA Glue with activator (Bonds in 10 seconds, perfect for jigs).
Keep It Simple
Start your shop with a single, medium-sized bottle of standard yellow PVA glue (Titebond II). Learn how it behaves, how long it takes to tack up, and how much squeeze-out is normal.
Once you master the basic yellow bottle, you'll rarely find yourself needing anything else. And when you're ready to build projects that put every glue type to the test, woodworking plans that specify the exact glue and clamping sequence for each joint remove all the guesswork about which adhesive goes where.
Keep your edges sharp,
– Mark